
Change the Encryption Mode
You can change the encryption mode used by Self-Service Analytics (for example to change from AES to AES/CBC/PKCS5Padding encryption). The encryption mode you select is used to encrypt connection parameters, secure user attributes, and Trusted Access tokens. If you are upgrading to a newer version of Self-Service Analytics and you also want to change your encryption mode, perform the upgrade first and then complete the steps described here.You must have system administration privileges to change the encryption mode.
- Start the Self-Service Analytics microservice. This will populate the Self-Service Analytics database using the original encryption (for example AES). See Start Microservices.
- Stop the Self-Service Analytics microservice. See Stop Microservices.
- Back up the Self-Service Analytics database. See Back Up the Metadata Store.
-
Modify the following encryption properties in the
zoomdata.propertiesfile:security.encryption.algorithmandsecurity.encryption.key.algorithm. For example:See Properties Reference. - Start the Self-Service Analytics microservice. Self-Service Analytics will start using the new properties and the new encryption method. See Start Microservices.
Enable or Disable a Security Service
A member of the Self-Service Analytics Supervisors group can enable or disable a security authentication service.Enable a Security Service
Enable a security authentication service- Log in as a system admin or a member of the Supervisors group.
- Select Tools > Security from the Administration menu.
- The Security page appears. It consists of four tabs: Security Services, SAML Settings, LDAP Settings, and Kerberos Settings.
-
On the Security Services tab, turn on the appropriate switch (slide it to the right) for the authentication service you want to enable.
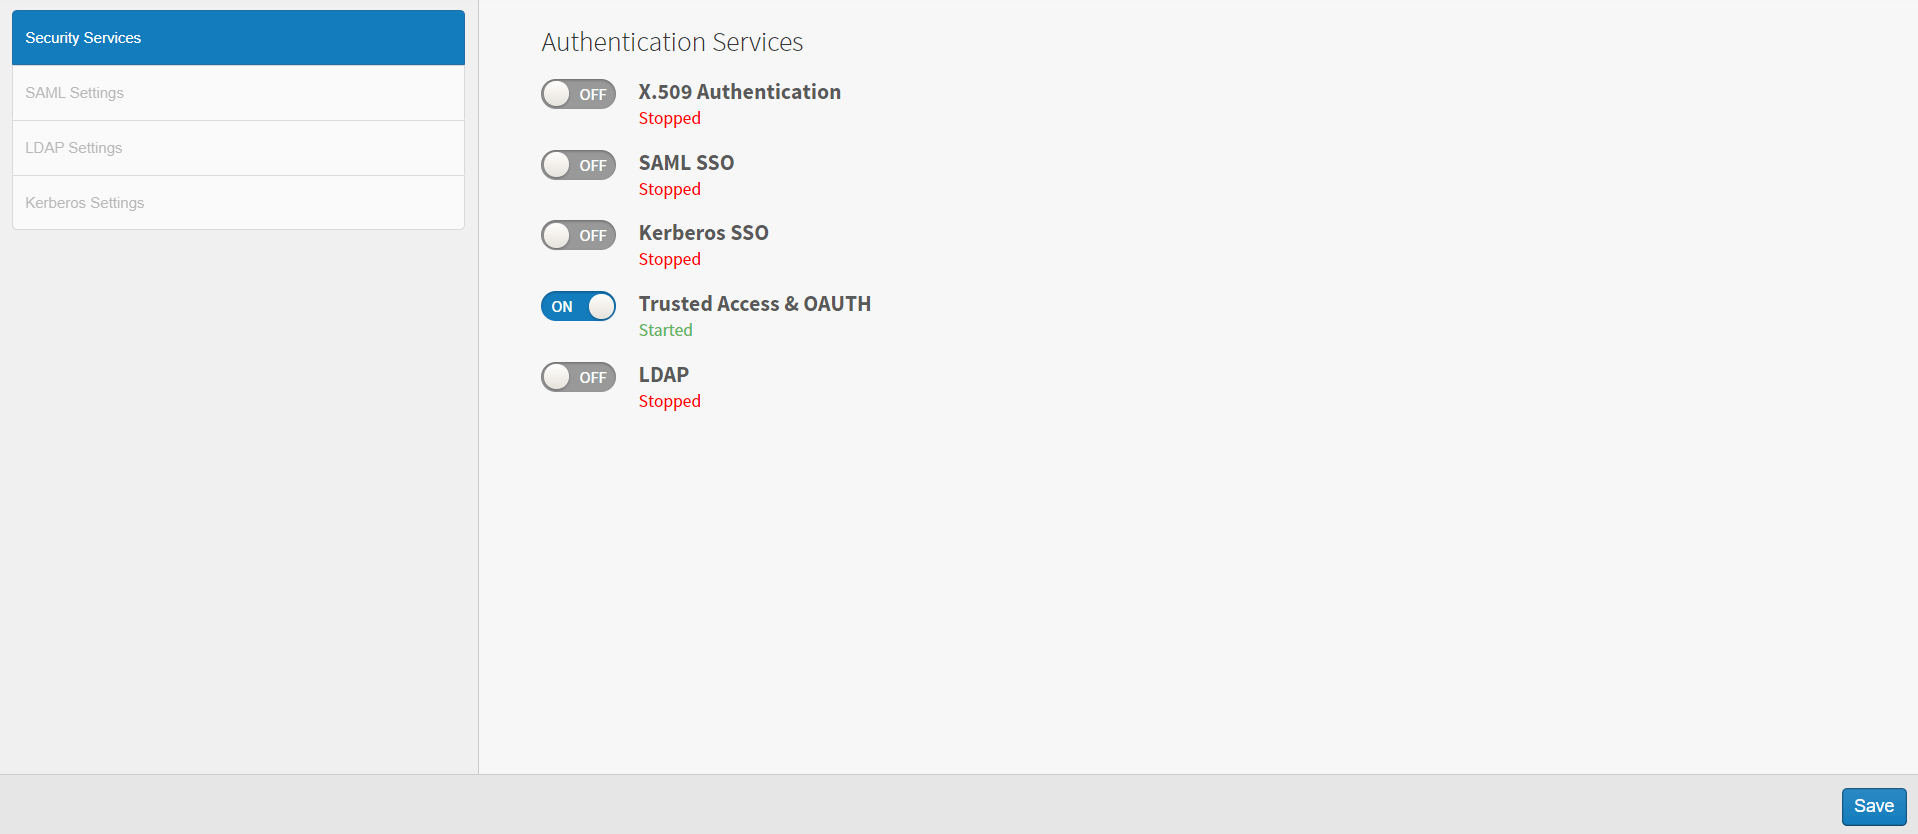
- Select Save. After the settings have been saved, the status of the authentication service changes to Will start on next restart.
- Close the Self-Service Analytics UI.
- Access the Linux prompt and log into your Self-Service Analytics server (via Secure Shell or SSH).
-
Restart the Self-Service Analytics server service. See Restart Microservices.
Wait a few minutes for the Self-Service Analytics service to fully restart, then open a new browser window and log back in as the supervisor. Verify that your changes took effect. After restarting Self-Service Analytics, the authentication service status changes to Started.
If you receive an error message stating that the connection to Self-Service Analytics could not be made, you may need to give it a little more time for the service to fully restart. If the problem persists, contact Technical Support.
Disable a Security Service
Disable a security authentication service- Log in as a system admin or a member of the Supervisors group.
- Select Tools > Security from the Administration menu.
- The Security page appears. It consists of four tabs: Security Services, SAML Settings, LDAP Settings, and Kerberos Settings.
-
On the Security Services tab, turn off the appropriate switch (slide it to the left ) for the authentication service you want to disable.
- Select Save. After the settings have been saved, the status of the authentication service changes to Will stop on next restart. The tab that allows you to configure the settings for the service will still be available and the service will keep running until the Self-Service Analytics service is restarted.
- Close the Self-Service Analytics UI.
- Access the Linux prompt and log into your Self-Service Analytics server (via Secure Shell or SSH).
-
Restart the Self-Service Analytics server service. See Restart Microservices.
Wait a few minutes for the Self-Service Analytics service to fully restart, then open a new browser window and log back in as the supervisor. Verify that your changes took effect. After restarting Self-Service Analytics, the authentication service status changes to Stopped and access to the corresponding service tabs are disabled.
If you receive an error message stating that the connection to Self-Service Analytics could not be made, you may need to give it a little more time for the service to fully restart. If the problem persists, contact Technical Support.